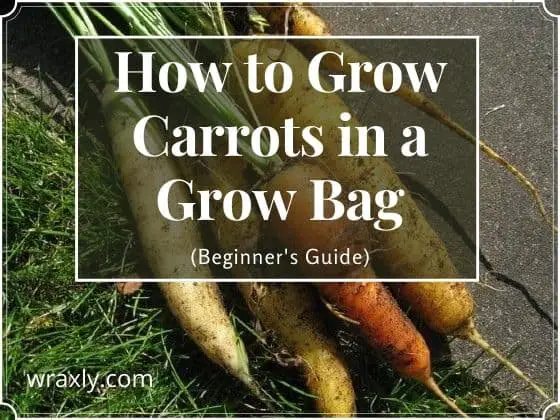
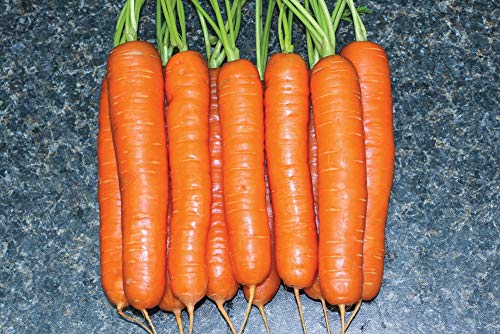
Nothing’s more delicious than fresh, crunchy carrots. If you’re fond of this vibrant veggie and want to grow it yourself, you don’t have to have a big garden for that. Just get yourself a grow bag, some soil, some carrot seeds, and you’re all set!
Growing your own vegetables, in general, is super fun and rewarding, and that’s especially true for these orange goodies. In this article, you’ll find a whole guide on how to start growing carrots in a grow bag. Let’s get started!
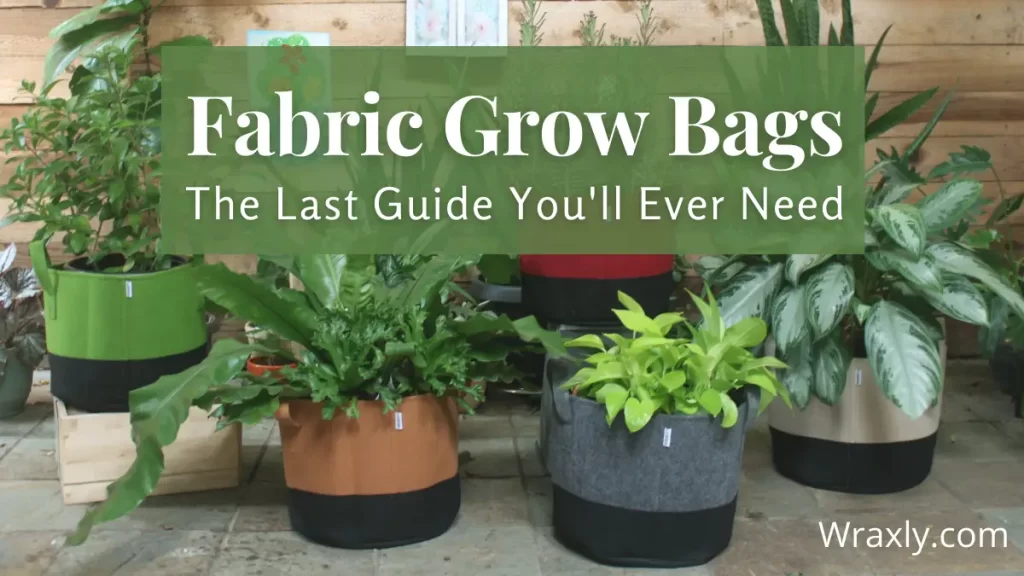
Why Grow Bags are Great for Growing Carrots
Since carrots are a root vegetable, they can’t grow properly in soil that is full of stone or clay. For carrots to look vibrant and taste sweet, they must grow in soil that has a moderate amount of nitrogen, with a medium-to-high pH, and is well-drained and friable.
Using grow bags to grow carrots is great since you can do it throughout the whole year. Carrots have a nature that is frost-resistant, so they can stand cold days. Just don’t forget that they need to get a daily minimum of 6 hours of sunlight.
How to Choose the Right Grow Bag for Carrots
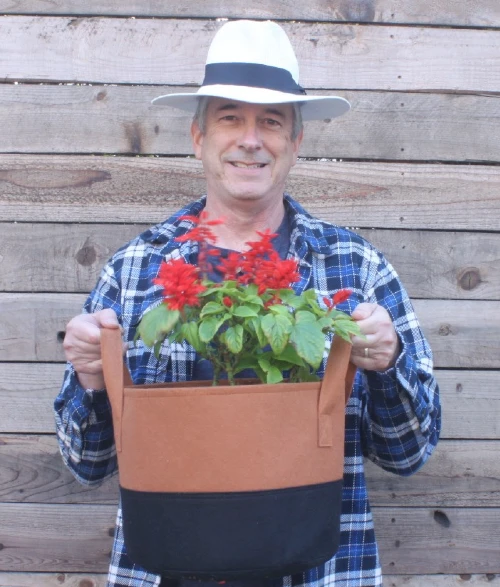
You’ll find plenty of grow bags available on the market, some are fabric bags, and some are made out of nylon.
Fabric bags are better for growing carrots as they’re breathable and control temperature. You can also use potato grow bags to grow carrots, as you can easily monitor the soil’s condition in your bag and empty the grow bag when the season is over. Your bag should have a minimum depth of 1 foot so that the roots of your carrots can grow freely.
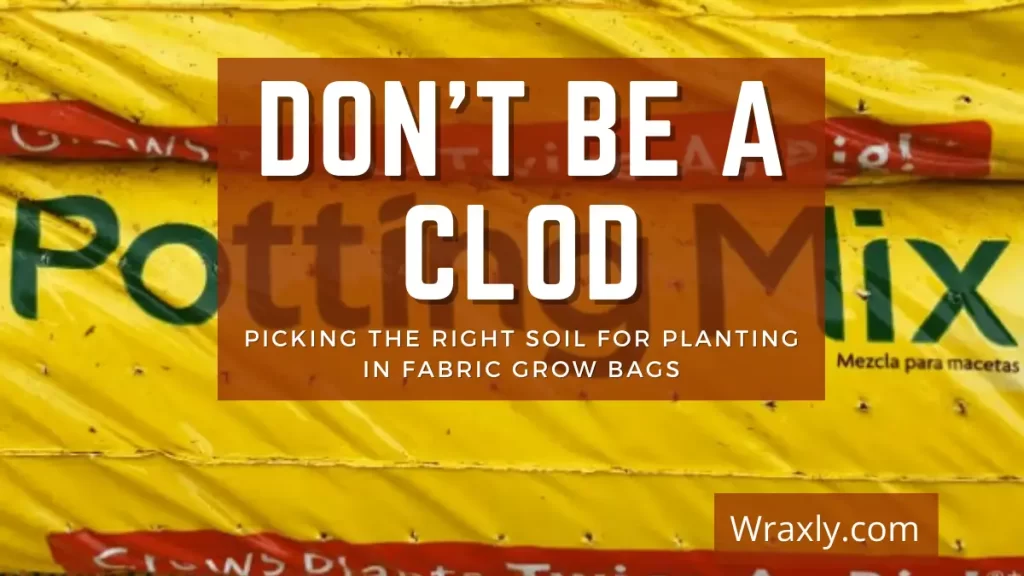
Soil Preparations
Because carrots are a root vegetable, you want to prepare your soil properly to grow them. If any of these steps is not followed correctly, it can be detrimental to the growth of your carrots.
As mentioned above, your soil shouldn’t have heavy stones or clay. It should be all nice and loose as carrots should be able to reach deep into the soil as they grow. Add compost to create good soil with a loose texture. Newly bought compost is a great soil for your carrots (if affordable).
Fill up the bag with the soil and leave an empty top space of 10 inches. Remove any debris (like rocks) as you fill your bag as they can act as obstacles and deform the growth.
Sowing The Seeds
It’s best to sow early crop carrots during Spring days. That is because it’s not possible for carrot seeds to germinate if the soil is cold. So, wait for the frost to go away, then sow the seeds. For continuous harvesting, sow your seeds in one bag first and sow into another bag after two weeks.
You can sow early crop carrots at those intervals all the way until the end of summer. But with main crop carrots, you should sow them only until mid-summer.
Start by watering your bag one day before sowing the seeds. You want to sow carrot seeds as evenly as possible in small rows. This should prevent you from wasting any carrots during the thinning process. Then cover the seeds with your soil and use your hands to firm everything down. Finally, spray your soil with some water, and then just wait!
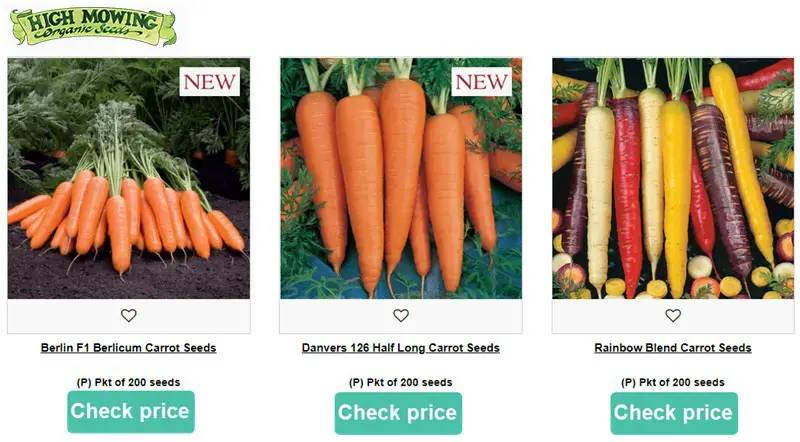
Check Out Our Carrot Seed Recommendations…
| Image | Title | Prime | Buy |
|---|---|---|---|
 | Little Finger Carrot Seeds | Heirloom & Non-GMO Carrot Seeds | PrimeEligible | Check Price on Amazon |
Top | Big Pack - (3,500+) Rainbow Mix Carrot Seeds - Atomic Red, Bambino Orange, Cosmic Purple, Lunar White and Solar Yellow Seeds | PrimeEligible | Check Price on Amazon |
 | Sow Right Seeds - Carrot Seed Collection for Planting - Rainbow, Nantes, Imperator, and Kuroda Varieties | PrimeEligible | Check Price on Amazon |
 | David's Garden Seeds Carrot Tendersweet 200 Non-GMO, Heirloom Seeds | PrimeEligible | Check Price on Amazon |
 | Heirloom Carrot Seeds - 6 Varieties of Organic Non GMO Carrots for Planting | PrimeEligible | Check Price on Amazon |
 | Atomic Red Carrots, 250 Heirloom Seeds Per Packet, Non GMO Seeds | PrimeEligible | Check Price on Amazon |
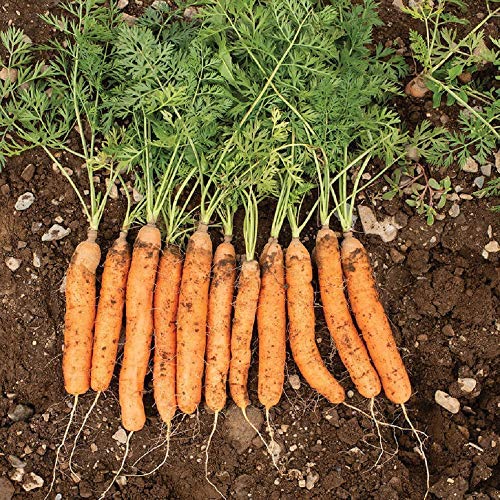
How to Thin Carrots
Thinning carrots is essential for healthy growth. Carrots won’t grow to their full size without having enough space. Thinning is getting rid of the small plants in a row of carrots in order to leave some space for the other carrots to grow to maturity. The thinning process should take place in the evening to keep away a possible attack by carrot flies.
If you’re not going to use the removed carrot plants for your compost, collect them after thinning, throw them into a trash can, and cover them. The smell that comes out of the leaves is what attracts the carrot fly. Also, make sure the carrots’ surrounding soil is firm. You won’t see shoots in your bag until 2-3 weeks after sowing. If the temperature is cold, however, it may take a few days longer. Start thinning the shoots out once they’re 1-2 inches long.
Get to the area that has shoot groups and gently lift them out, and then place them back evenly in the bag. Remove the smaller shoots if they’re too close together. We recommend that you keep the carrot plants at least 2 inches apart after thinning them. Don’t forget to surround your carrots with more soil to prevent them from discoloring from the sunlight.
Care
Carrots are mostly made up of water, so it’s crucial to keep their soil as damp as possible (without overwatering them). Pay close attention to watering when you grow carrots in grow bags, as their breathable fabric material makes them dry out faster. You can help by surrounding your carrots with a layer of straw, which can keep the moisture inside the bag.
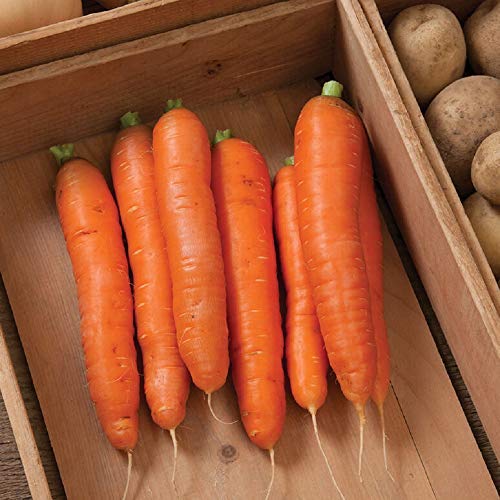
Harvesting
Carrots will normally be ready for picking 60-80 days after sowing the seeds, depending on what variety you’re growing (check the maturity time on your seed packet). The tops of the roots should have a diameter of 3/4-1 inch and will most likely begin to come out of the dirt, but this is not always the case. Their color should also look vibrant.
If you’re not sure whether your carrots are ready or not, you can pull one root and check its size. You don’t even have to wait until they’re matured; you can pull most varieties whenever the roots are big enough.
To harvest the sweet carrots, use a trowel or a spade to loosen the soil surrounding your carrots, then pull up the greens. This will minimize breakage in the greens. Though most carrots will fully grow simultaneously, you can leave the ones that haven’t matured and only harvest the ones that have.
Storage
Trim the greens off of your carrots and store them in the fridge. Don’t throw the greens away, though, because you can always compost them!
Put your carrots in a container, fill it with water, and leave everything in the fridge. If you notice the water getting cloudy, just change it to keep your carrots fresh for two weeks.
The Best Carrot Varieties to Grow
Carrots come in all shapes and tastes! The following are some of the best carrot varieties to grow in a grow bag:
Atlas
This variety typically takes 70 days to mature. You harvest the roots once they’re 1-2 inches across, and you don’t even have to peel its skin; a quick wash will be just fine.
- Harvest in about 70 days
- Seeds are Non-GMO, easy to grow and hand packed by Davids Garden Seeds in the United States
- Good performance across many soil types
- Stronger resistance to splitting than others of this type
- Germination rate about 80% and better
Yaya
The Yaya variety takes almost 56 days to grow, with roots up to about 6 inches long. This variety is perfect if you want to plant in the spring and harvest in the summer.
- Grow a better garden with Gurneys - best for flavor & performance
- Days to Maturity: 60 days.Germination: 10 - 20 days.
- Planting Depth: 1/2 inch.
- Zones: 3 - 9 ann
Bolero
Bolero carrots, a Nantes variety, take 75 days to be ready for harvesting. Their roots grow as long as 8 inches and have a sweet flavor. They can also resist a lot of diseases that threaten carrot plants.
- Harvest in about 75 days
- Seeds are Non-GMO, easy to grow and hand packed by Davids Garden Seeds in the United States
- Excellent eating quality both fresh and after long-term storage with juicy texture and sweet complex flavor
- A great choice for fall and winter harvest
- Germination rate about 80% and bet
Adelaide
If you’re a baby carrot lover, this variety is the one for you. With only 50 days to grow, Adelaide carrots grow roots that are only 3 inches long and mature in less than two months.
- Harvest in about 50 days
- Seeds are Non-GMO, easy to grow and hand packed by Davids Garden Seeds in the United States
- Good performance across many soil types
- Great for baby carrots or bunching
- Germination rate about 80% and bet
Oxheart
Oxheart, a classic variety of carrots, are short, stout carrots with long roots shaped like cones. Typically, they take around 90 days to grow up to 3-4 inches in diameter and 4-5 inches in length. Their shape makes them easier to grow in a grow bag.
- 80-90 days. This very old, hard-to-find heirloom can weigh 1 pound or more. Stout, excellent quality Chantenay carrots grow to a heart-shaped 5–6 inches.
- Owing to their bulbous nature, they tolerate heavy soils better than most, but also grow well in sandy soil types. 200 Seeds
- A great choice for container gardens too, providing lots of food value when soil depth can be a limiting fact
Final Thoughts on How to Grow Carrots in a Grow Bag
Although growing carrots in grow bags is something that pays off really well, it’s a fairly easy process that doesn’t require too many supplies or too much labor, and that pretty much anyone can do.
So, if you think you have what it takes to start growing your own sweet carrots, don’t waste any time and start growing this delicious food for yourself and your family!
Darrell has a passion for gardening that he inherited from his father. Go here to read more about the influence his father played in his love for gardening. If you want to send Darrell a quick message, then visit his contact page here.

![Container gardening for beginners [Buying guide]](https://wraxly.com/wp-content/uploads/2021/02/Container-gardening-for-beginners-Buying-guide-1200-1024x576.webp)