Any serious home gardener should consider making their own compost. Compost can improve your soil in numerous ways, which will help your plants put forth their healthiest growth.
While most are aware of those benefits, they also hold the belief that composting is a large-scale endeavor suitable for those who have sizeable gardens. But that does not need to be the case. Instead, it is possible to compost even when you have minimal outdoor space or even no outdoor space at all.
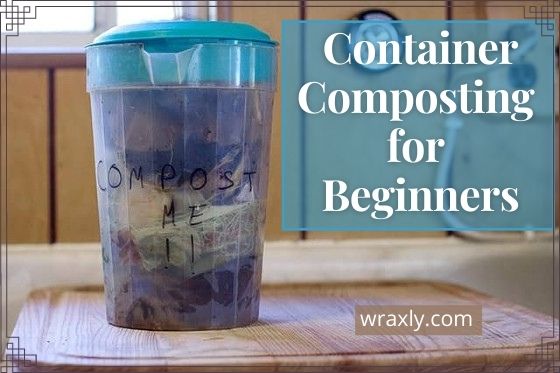
In those situations, container composting is one of your best options. That is why we created this beginner’s guide to container composting to help you get started.
Why Bother with Container Composting?
For those still wondering if container composting is worth the effort, let’s begin with some of the main benefits of compost in general. Regardless of how you make your compost, it will usually afford you these advantages:
- Better soil structure
- Support for healthy soil microbes
- Fewer plant diseases
- Improved soil moisture retention
Few would argue against those beneficial aspects of compost. But some resist composting in favor of one of the many store-bought compost options. These compost products are widely available and are immensely helpful for your soil.
However, because commercial compost is a mass-produced commodity, it does not always have the same quality as a homemade version. For example, DIY composts often have a greater capacity to improve soil structure.
Container composting gives you the chance to begin making compost on a smaller scale. And beyond its functional use, this practice can also become an enjoyable part of your gardening hobby. With that in mind, we’ll move on to a quick beginner’s guide to container composting.
Getting Started with Container Composting
Now that you know some of the reasons why you should compost, it is time to learn how to do it. Those who are new to the topic should know that there are different styles of composting. Those types of composting call for different levels of attention from you and give different returns for your labor.
Two of the most recognizable forms of composting are hot composting and cold composting. Hot composting is a better option for those who are making larger outdoor compost piles. By contrast, cold composting is ideal for those composting in containers.
What is Cold Composting?
Cold composting is one of the easiest forms of composting. Compared to hot composting, cold composting also takes longer to produce usable compost. Even though cold composting is a longer process, it is still best for container composting and indoor composting. The reason for this is that cold compost does not need as much space or movement.
Practicing cold composting is as easy as adding materials to a bin over time. After around one year or more, that material will break down into a nutrient-rich organic compost.
What Materials to Put in a Compost Container
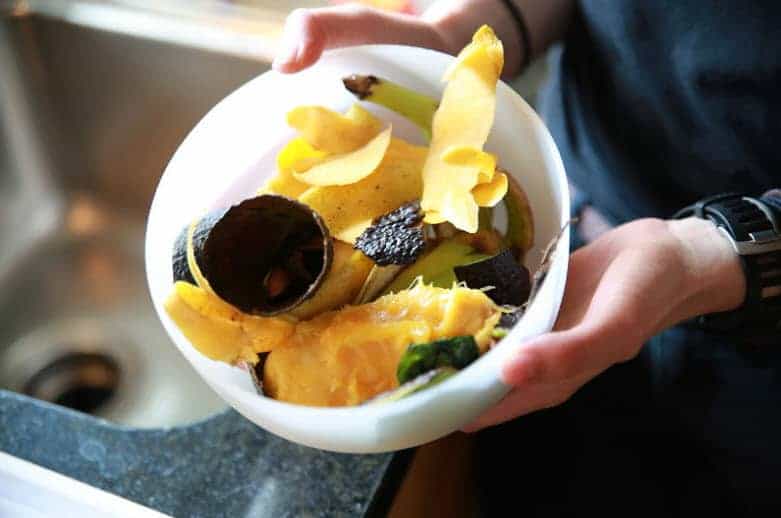
One of the most essential aspects of container composting is knowing what to put in your container. There are some common waste materials that are fantastic to put in your compost. Here are some of the best items that you should consider, including:
- Fruit and vegetable scraps
- Coffee grounds
- Twigs
- Newspaper
- Grass clippings
- Teabags
- Eggshells
Beyond that list, there are many other items you can add while you make compost. Each of the many additions falls into one of two categories:
- Brown material – items like cardboard and twigs that break down slowly
- Green material – materials like food scraps and grass clipping that decay relatively quickly
Brown material tends to be tougher and more fibrous. Those qualities make for a slow decay. You can consider this material to be a sort of long-term fuel for your compost.
Green material is often softer and breaks down more quickly. Green material also adds moisture that is essential to the composting process.
The ratio of brown material to green material affects the quality and success of your compost container. However, there is no exact measurement for how much you need of each.
In general, brown material should make up most of your compost. A three to one ratio of brown to green material serves as a good guideline. Thankfully, there are plenty of examples of both materials for your use.
The abundance of materials you can add to your compost container makes composting at home very easy. But you should still know that there are some materials you should avoid in composting as well.
FURTHER READING
- 7 Steps to Compost Wood Chips Faster
- How to Make Organic Living Soil
- Best Organic Mulch for Week Prevention
- The Best Worm Composters You Can Buy
- 8 Best Compost Bins on the Market
What Not to Put in a Compost Container
Just as there are many items that are permissible in your compost, there are others that should never enter the mix. If you want to know what not to put in your container, here is what you should avoid most:
- Meat
- Fats
- Dairy products
- Diseased plant materials
- Anything containing chemicals or pesticides
Adding any of those substances will harm rather than help your composting efforts. But knowing what to add and what not to is just part of the battle. Your next step is to consider what kind of container should hold those materials.
What is the Best Container for Composting?
There are many options when it comes time to choose a container for your compost. Some gardeners may purchase a composting container, while many others go for DIY methods. No matter which you choose, there are some factors that make some containers better than others.
One of the most important aspects of a container for composting is breathability. The best compost container is one that allows air to flow through the compost. That presence of air encourages the raw materials to turn into compost more quickly.
If your container consists of a solid material such as plastic or wood, you may want to drill holes in the sides. Those holes will allow some air to flow through. Alternatively, you can use a container that has a more porous material, such as a fabric grow bag.
Along with airflow, you should also consider the size of the container you use. The size of the container should relate to the amount of compost you hope to use.
If you intend to spread compost over a single small flower bed, a smaller container is all you need. As your use of compost expands, so should the size of your compost container. But remember that at a certain point, your need for compost may surpass what a compost container can supply.
HERE’S OUR TOP PICKS…
Additional Container Composting Tips
You now know some fundamental composting techniques. Now it is time to round out your container composting knowledge. In the following sections, we’ll share a few tips with you that will help to ensure that your container composting is a success.
Try a Countertop Compost Container
To maintain consistency, it is helpful to alter your daily habits to support your composting goals. Considering kitchen scraps are some of the most typical additions to your compost pile, you should have a way to collect them.
A kitchen compost container makes it simpler to incorporate composting into your routine. Often these containers are small and serve as an intermediate resting place for your compost materials.
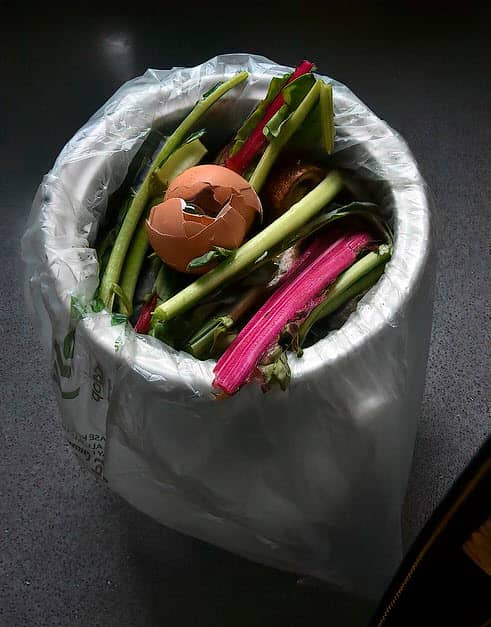
As you clean your kitchen, you’ll add food waste to your composting countertop container. Later on, when that container gets full, you can move its contents to your larger compost pile or container.
Along with making composting more convenient, kitchen containers also work on a psychological level. When you have a visible composting container for kitchen use, you are more likely to remember your composting efforts rather than throwing waste away.
Keep Newspaper Nearby
Earlier, we mentioned that you’d need more brown material than green material in your compost container. For that reason, it is a good idea to store plenty of newspaper in your home. That newspaper can act as a quick source of brown material when you feel that your compost is lacking some.
Move the Material
Occasionally, you should mix the material in your compost container. That movement allows more air into your compost mixture. With more air, your materials will break down more quickly, leading to a healthy supply of compost in less time.
Thoughts on Container Composting Indoors
As we alluded to earlier, it is possible to do container composting even when you have no outdoor space. But if you choose to do your composting indoors, there are a few more issues you need to think about.
For instance, you should be wary of composting items with harsh odors like onion peels. These items can give your home a horrible smell as they break down in your indoor compost container.
You should also make sure not to let your compost become too wet. If you are using a container with adequate breathability, some of that moisture could leak onto your floor or furniture.
Be Patient with Your Container Composting
Don’t expect to get quick results from your composting efforts. Especially with cold composting, it can take more than a year for you to have compost that you can add to your garden. But if you can be patient, the results will be well worth the wait.

John Haryasz is a freelance writer and landscape designer. In the field of landscape architecture, he has contributed to many successful design projects throughout the country. As a writer, John specializes in creating captivating and informative web content. Through that work, he aims to share his design knowledge and promote engagement with the outdoor world.
![10 Common Container Garden Mistakes to Avoid [Beginner’s Guide]](https://wraxly.com/wp-content/uploads/2021/02/10-Common-Container-Garden-Mistakes-to-Avoid-Beginners-Guide-1200-1024x576.webp)