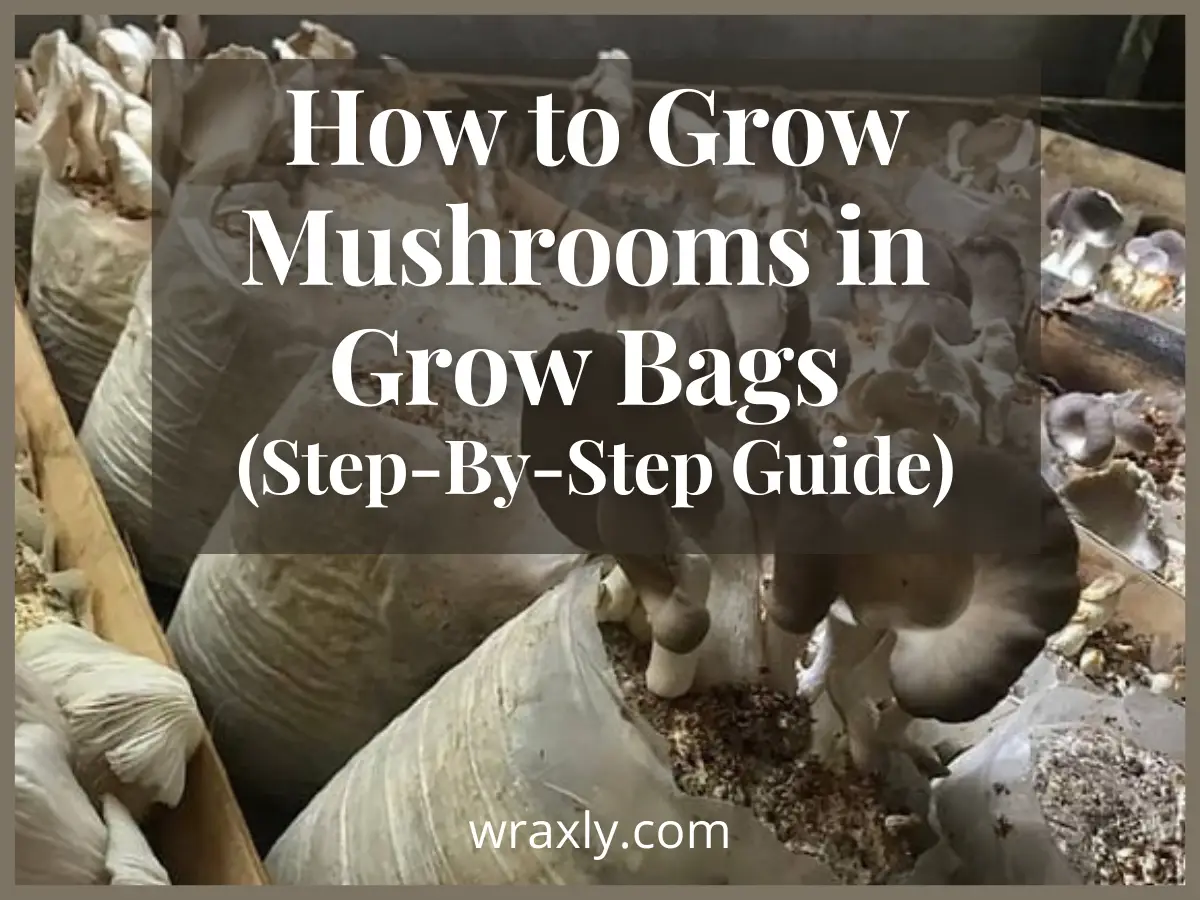
Growing mushrooms in grow bags is becoming a hobby for more and more people, and why not? It’s becoming easier to do than ever, so home-based growers can now grow mushrooms using the simplest equipment with the minimum cost.
In this article, we will show you the correct, step-by-step way to grow this superfood in grow bags. We will also go in depth on some things you should definitely know before growing mushrooms in grow bags. And by the time you’re done reading this, you’ll be equipped with the knowledge you need to start bringing your mushroom garden into existence!
- Here are Our Top Mushroom Grow Bag Picks…
- What’s A Mushroom Grow Bag?
- Why You Should Start Growing Mushrooms in Grow Bags
- How to Choose A Mushroom Grow Bag
- Supplies
- Preparing Your Mushroom Grow Bag
- Sealing
- Incubating
- Triggering
- Harvesting
- Consider A Fruiting Chamber
- Can You Reuse Your Mushroom Grow Bag?
- Key Takeaways
- Additional Resources
Here are Our Top Mushroom Grow Bag Picks…
| Image | Title | Prime | Buy |
|---|---|---|---|
 Top
Top | Mini All in One Mushroom Grow Bag | PrimeEligible | Check Price on Amazon |
Top Top
Top | All in One Mushroom Grow Bag (2 Pack) | PrimeEligible | Check Price on Amazon |
 Top
Top | CO2 Emitting Reishi Mushroom Kits | Prime | Check Price on Amazon |
 Top
Top | TonGass 60-Pack Autoclavable Mushroom Growing Bags - Large 8" x 5" x 20" - Extra Thick 6mm Bags with 0.2 Micron Filter | PrimeEligible | Check Price on Amazon |
 Top
Top | [50 Pack] Mushroom Growing Bags Mushroom Spawn Bags - Large Extra Thick 6 Mil Bags 6" X 5" X 20" 0.2 Micron Filter | PrimeEligible | Check Price on Amazon |
 Top
Top | BetterFungi 3 Lb Sterilized Grain Bag with Injection Port | Prime | Check Price on Amazon |
What’s A Mushroom Grow Bag?
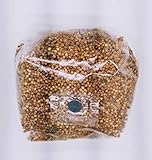
A mushroom grow bag is simply a strong, heat-resistant bag made for growing mushrooms. It’s useful if you want to grow mushrooms or produce spawn and would like to sterilize supplemented substrate for that purpose. It features a filter patch that allows for fresh air exchange for healthy growth of mycelium and ensures that the substrate is free from contamination.
Many types of mushrooms can grow in a grow bag. It all depends on the type of substrate that is put in there.
Why You Should Start Growing Mushrooms in Grow Bags
There are several perks of producing your own mushrooms at home, and if you’re still considering starting out, here they are:
Fun
Isn’t it fun and satisfying to watch your little fungal formations grow and evolve? Cultivating, growing, and eating mushrooms is a fun way to make use of your days in quarantine.
Educational
Growing mushrooms is a learning experience in itself. You’ll get to know more about different kinds of mushrooms and their life cycle. Not only that, but you’ll also learn a lot about taking care of mushrooms, like the right lighting, temperature, watering, and harvesting, for example.
Self-Sufficiency
If you’re a mushroom lover, but you don’t want to rely on grocery stores and restaurants to enjoy them, why not just grow them yourself and become more self-reliant?
Saves Money
Although the things you need to grow mushrooms at home will come at a price, the cost is very insignificant compared to the prices of mushrooms in the store. Growing mushrooms is a great investment and can save you a lot in the long term.
How to Choose A Mushroom Grow Bag
Although not all mushroom grow bags are created equal, choosing them myouainly depends on three factors – bag size, bag thickness, and filter size.
Bag Size
When it comes to bag size, there’s no hard and fast rule. Bags that aren’t big enough are mostly inefficient, while bags that are too large can be inconvenient. Choosing the right sized bag depends on you and what you hope to grow.
For example, 5 pounds of supplemented sawdust and grain spawn will fit in a grow bag measuring 8 inches wide by 5 inches deep and 18 inches tall.
Thickness
Thicker bags are not only more expensive but also stronger. The usual range varies between 2.2 mil and 4.0 mil. Growers can start with thin, low-cost bags and work their way up to something thicker if their bags rip too often (which makes them vulnerable to contamination).
Filter Size
The size of the filters varies. That means their holes, or pores, vary in size, often ranging from 0.2 micron to 5 microns. Pore size is what determines how much can pass through the filter. With smaller pores, there will be fewer spores and other pollutants, but there will also be less air.
The key is to find the balance between the mushrooms’ need for air and the necessity of their security. The filter’s pores should be no wider than 0.5 micron for most purposes.
Supplies
Make sure to have these supplies before you start growing mushrooms:
- Straw pellets – You’re free to grow on chopped straw, straw pellets, or wood pellets. Both straw and wood pellets are pasteurized already, as they are put through high heat and pressure in the manufacturing process, which is a big plus.
- Mushroom spawn (oyster mushroom grain spawn) – You can easily order these online rather than trying to use mushrooms that have already developed.
- Mushroom grow bag(s) – Other containers can be used, but grow bags are particularly great for beginners, especially because a grow bag is clear and transparent, so it’s easier for you to monitor everything throughout the whole process.
Preparing Your Mushroom Grow Bag
Add 36 fluid ounces of cold water to 35 ounces of the substrate, whether sawdust pellets or straw. You can also use hot water to pasteurize them even more, but it’s not a must. After you’ve added the water to your pellets, leave them for half an hour to sit and get hydrated completely. If you’re using hot or boiling water, wait until the mixture cools down.
Now you can mix the spawn with the substrate. Start by adding 6.5 ounces of oyster mushroom grain spawn to your pellets.
These amounts are adjustable, just keep the same ratio of water, pellets, and spawn. After adding your spawn, you need to give it a good mix and dump it into your bag. Leave a third of your bag empty at the top when using sawdust pellets or straw, as this will allow more air exchange in the bag.
You can, however, fill the entire bag completely if you’re using a chopped straw. Straw has bigger particles, allowing for more air exchange. And now, the only thing left is that you seal up the bag.
Sealing
Because there’s no specific way to seal the majority of grow bags, you’re going to need to be creative and find a way to seal your bag up after it’s inoculated. One of the easiest ways you can do this is by twisting the bag’s top and securing it with a wire or zip tie.
Impulse sealers are often used when producing high volumes. What these machines do is that they melt down the plastic at the top of the bag to create a seal. This will save you a lot of time and energy when producing on a large scale. Getting an impulse sealer, however, will cost you a pretty penny (roughly $100), so it’s not always worth getting for casual home use.
Incubating
Waiting is very much all that’s left to do in this step. Just make sure to keep the grow bag inside your house in a place with a temperature between 68-75 F (20-24 C), which is the usual temperature in most houses. You can also store it in a dark room for better results.
You should start seeing small white spots on the substrate after a few days. These spots will eventually take over your whole bag! Oyster mushrooms take 2-3 months to finish the whole process and bloom. Everything should be ready when you see all substrates covered with white mycelium.
Triggering
It’s finally time for you to literally see the fruits of your labor and start growing some mushrooms! Using scissors, make a cross-shaped cut on the bag’s front side. This is so that you can open up these flaps on a regular basis and mist the mycelium with water about twice a day.
It’s recommended to cut a small hole 2 inches wide on your bag’s side rather than its top. Cutting the bag from the top or opening the whole top may cause your substrate to dry more quickly, and you might get a lot of very small mushrooms rather than a few clusters of larger ones.
For most cases, you’ll only need one hole in the bag for every 1.6lbs of the substrate. But if your bag is really large, having several holes may be better. If you find yourself having some extra space at your bag’s top side, try to fold it over and tape it there to prevent mushrooms from growing in the gap between the substrate and the top of the bag.
In the fruiting stage, mushrooms need light, humidity, and air. To provide the grow bag with humidity, spray it with water daily. And when it comes to fresh air, most houses have enough air exchange, but if you notice your mushrooms growing thin and long, try opening up your window a few times every day for 5-10 minutes at a time to allow some extra fresh air to get in.
Mushrooms will grow under any indirect light source. A kitchen counter or a windowsill should be fine. Unlike plants, mushrooms don’t have the ability to photosynthesize light. They only use it as a signal to begin their growth.
Harvesting
If everything goes as planned, you should start seeing little mushrooms forming after 5-6 days. After that, they’ll start growing noticeably quicker. Your mushrooms will be ready for harvesting after about two weeks when their size has doubled.
For Lion’s Mane mushrooms, you can begin to harvest them once it appears that the growth has slowed and the spines have gotten longer. As for Reishi, it’s usually harvesting time when the pale edge stops growing or disappears. And as they reach maturity, Reishi will release spores in large quantities.
Even as they mature, Chestnut mushrooms will tend to stay rather small. Once they have opened and their growth seems to have slowed, you can harvest clusters of these mushrooms at a time.
The harvesting process is simple, place your hand under your mushrooms, then twist. If you find it a bit hard to pull them out, they may need some more time.
Consider A Fruiting Chamber
A mushroom fruiting chamber – or grow chamber – is an enclosed space that you can use to mimic natural conditions mushrooms grow in, helping them grow the best way possible. The needs for different species of mushrooms vary. So, depending on the type of mushroom you want to grow, the design and features of your mushroom fruiting chamber will differ.
If you want to minimize the time it takes to look after them, fruiting chambers can help you keep the moisture in, which means you’ll need less water to spray them. A simple fruiting chamber can be made from a really big plastic box full of perlite – a natural substance that expands and holds moisture.
If you choose to create one, don’t forget to poke a couple of holes into your box for fresh air exchange.
YOU MAY ALSO BE INTERESTED IN: Mushroom Grow Kit Buying Guide
Can You Reuse Your Mushroom Grow Bag?
The short answer is yes.
However, mushroom grow bags aren’t always reusable as these bags can get damaged with time, depriving your mushrooms of the sterile environment they need.
Since the plastic becomes weaker with each use, you wouldn’t want to risk a grow bag developing small holes that weed spores could pass through or even coming apart in the middle of growth. But you can reuse your bag in other situations. You can, for example, boil the material that needs to be sterilized and transferred to another container inside an old bag.
Straw logs can also be made with bags. Some growers are even experimenting with turning the material into mushroom substrate since certain fungi can consume plastics.
Key Takeaways
You can never go wrong with growing mushrooms in a bag. You have fun, get to learn a lot, save money, rely less on stores, and get to have a delicious superfood available at all times.
So, now that you’re equipped with the knowledge you need to start growing mushrooms in bags, all that’s now left is that you follow our step-by-step process and start producing some fresh, natural mushrooms!
Additional Resources
DIY FunGuide: Grow your own Oyster Mushrooms at Home
The Essential Guide to Cultivating Mushrooms
Darrell has a passion for gardening that he inherited from his father. Go here to read more about the influence his father played in his love for gardening. If you want to send Darrell a quick message, then visit his contact page here.
![Container gardening for beginners [Buying guide]](https://wraxly.com/wp-content/uploads/2021/02/Container-gardening-for-beginners-Buying-guide-1200-1024x576.webp)