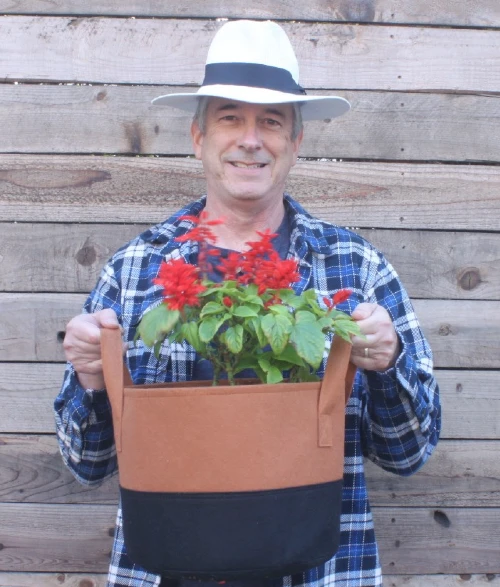
Cleaning fabric grow bags after a season of growing your favorite vegetables is super easy, especially with a high-quality fabric grow bag like Wraxly premium grow bags, which are made with thick nonwoven fabric that makes them durable and long lasting. Our grow bags are reusable, so with proper care your bags can last you many growing seasons. Follow these steps for cleaning and storing your grow bags. At the end of this article I’ll also give you an idea what else you can do with your grow bags besides storing them for the winter.

How to wash fabric grow bags
- Empty the bag of grow material
- Let dry for 24 hours. If there is any hardened growing material sticking to the sides of the bag, shake or use a stick to loosen the material, then use a brush to remove as much dirt as possible
- Use a high-pressure nozzle to wash out the bag of any remaining dirt. Pay particular attention to any stains you see

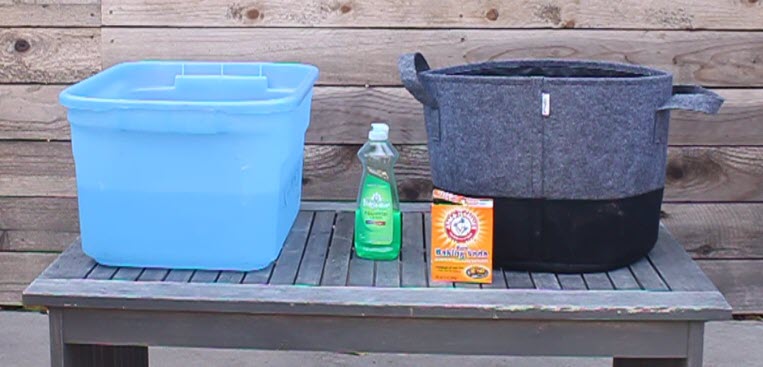
- Add 1 tablespoon of baking soda and 1 tablespoon of dishwashing liquid into a plastic storage tub. Fill the tub halfway with water to dissolve the baking soda and work up some suds. (Don’t use too much dishwashing liquid or else it will take more work to rinse your bags).
- Place your bags in the tub and add additional water so that your bags are submerged. Let them soak for 20 minutes.
- Wash the bags in the tub. Use a soft bristled brush to scrub any stains you see.
- Rinse out well and allow to air dry for at least 24 hours. Make sure they’re 100% dry before folding them up to store them, as storing damp bags can cause mold or mildew. Do NOT put your grow bags in the dryer.
Questions about cleaning fabric grow bags
Absolutely! Unless the grow bag you purchased is made with recycled material, which tends to break down more quickly, a premium grow bag like Wraxly’s can be emptied at the end of every growing season, washed, allowed to air dry, and folded up and stored in a cool dry place to be re-used the following Spring. This is one of the reasons people love using fabric grow bags.
Because when you mix vinegar and baking soda, a chemical reaction occurs. Part of it becomes carbon dioxide (this is what causes the bubbles), and part of it becomes water. After it reacts, it loses its cleaning benefits. Here’s a great article that explains the science behind it. We have found a mixture of baking soda and dish washing liquid to be the most effective at cleaning our grow bags.
To help your grow bags last the longest, we recommend hand washing. However, if you do choose to use a washing machine, follow steps 1-3 above, and in step 4, instead of using a plastic tub, go ahead and throw them into a washing machine and wash in cold water on the gentlest cycle. Use the same amount of baking soda and substitute a mild laundry detergent instead of the dishwashing liquid. It is important to do step 3 as this will wash away a lot of dirt and sediment before your grow bags get to your washing machine. Your washing machine (and spouse) will thank you!
That’s not a good idea. Even on low heat, your dryer will prematurely breakdown the nonwoven fabric and shorten the life of your grow bags. If you live in a climate that is especially wet (I’m looking at you, Pacific Northwest!) hang to dry indoors in an area that gets plenty of air circulation, away from your kitchen (so it doesn’t absorb the smell from last night’s tuna casserole) and away from humid areas like a bathroom. It may take longer to dry, but please be patient, and DON’T use your dryer.
If your plant had a fungus or disease, your grow bag could be infected as well, which could spread to your healthy plants when you reuse the bag the next season. If you want to avoid using chemicals in your garden, hydrogen peroxide makes a great disinfectant. Hydrogen peroxide is effective against most types of bacteria, viruses, and fungi.[1] Wash your bags as directed above. Before putting them out to dry, soak them in a solution of 1/4 cup hydrogen peroxide to 1 quart of water for 20 minutes, then rinse thoroughly. Make sure they are 100% dry before putting them away, as storing damp bags can cause mold or mildew.
Have additional questions? Let us know and we’ll be happy to answer your question here.
An Alternative to Cleaning your Grow Bags at the End of the Season
Cleaning your grow bags at the end of the season isn’t the only option. It is possible to leave your grow bags outdoors for the winter without causing extreme damage. If you choose not to clean and store your grow bag, the next best option is to plant a cover crop.
Planting cover crops is a time-tested practice that will help reinvigorate your soil. Higher-quality soil means your plants will experience more vigorous growth when the growing season arrives once again. Let’s consider a few of the key steps you’ll need to take to plant cover crops in your grow bags.
Read more about planting a cover crop in a grow bag…

Darrell has a passion for gardening that he inherited from his father. Go here to read more about the influence his father played in his love for gardening. If you want to send Darrell a quick message, then visit his contact page here.


![Container gardening for beginners [Buying guide]](https://wraxly.com/wp-content/uploads/2021/02/Container-gardening-for-beginners-Buying-guide-1200-1024x576.webp)
