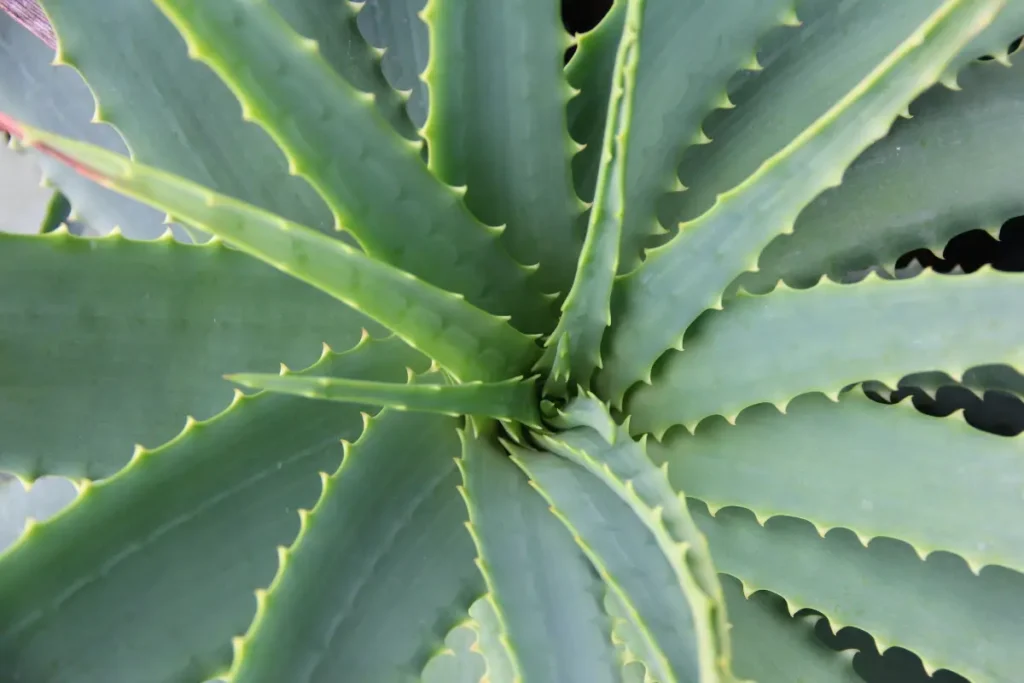
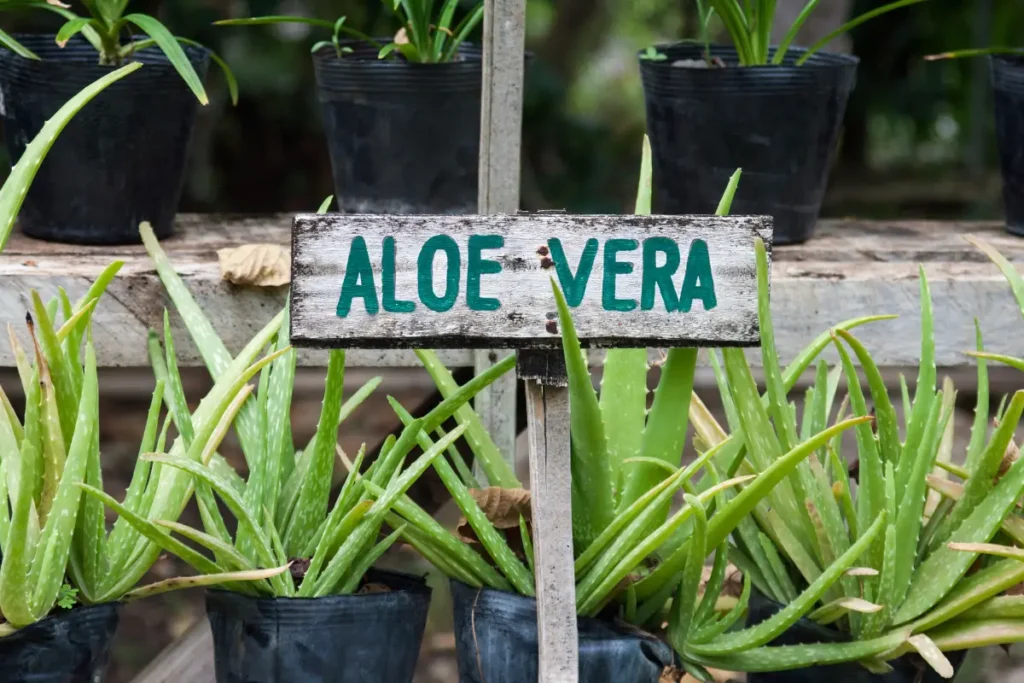
Welcome to the world of Aloe Vera gardening! If you’re like me, you understand the value of this versatile succulent. Aloe Vera offers a plethora of benefits, from soothing burns to purifying indoor air. But to keep your Aloe Vera thriving, it sometimes needs a fresh start through repotting.
In this article, we’ll dive into the art of repotting Aloe Vera, ensuring your beloved plant continues to flourish. We’ll provide you with the essential steps and share the enthusiasm that comes with nurturing these remarkable plants. Let’s explore the world of Aloe Vera repotting and guarantee that your green companion stays healthy and vibrant.
- Why Repot Your Aloe Vera?
- Growth and Root-Bound Concerns
- Refreshing the Soil
- Enhancing Overall Plant Health
- Gather Your Materials
- Choosing the Right Pot
- Selecting the Ideal Potting Mix
- Additional Tools and Materials
- Preparing Your Aloe Vera
- Signs that Your Aloe Needs Repotting
- Safe Removal from the Old Pot
- Gently Shaking Off Excess Soil
- The Repotting Process
- Placing a Layer of New Soil in the New Pot
- Centering the Aloe in the Pot
- Adding Fresh Soil Around the Plant
- Watering and Allowing Proper Drainage
- Post-Repotting Care
- Adjusting to Its New Home
- Monitoring for Signs of Stress
- Tips for Ongoing Aloe Care
- Troubleshooting Common Repotting Issues
- Dealing with Root Damage
- Managing Overwatering
- Recognizing Signs of Incorrect Repotting
- Aloe Vera Repotting: Frequently Asked Questions
- For Further Reading
- Final Thoughts on Repotting Aloe Vera
Why Repot Your Aloe Vera?
Aloe Vera, with its lush green leaves and renowned healing properties, is a cherished addition to any home. It’s no surprise that you want it to thrive. That’s where repotting comes into play. In this section, we’ll uncover the ‘whys’ behind repotting your Aloe Vera and why it’s crucial for its overall well-being.
Growth and Root-Bound Concerns
As your Aloe Vera grows, it may outgrow its current pot. When this happens, the roots become cramped and entangled, stunting growth and causing stress to the plant. By repotting, you’re offering your Aloe Vera the room it needs to stretch its roots and continue its journey to becoming a vibrant, healthy plant.
Refreshing the Soil
Over time, the potting mix in your Aloe’s container can become depleted of nutrients, which affects its ability to thrive. Repotting allows you to replace the old, tired soil with a fresh, nutrient-rich mix. This infusion of new nutrients is like a breath of fresh air for your plant, invigorating it and promoting robust growth.
Enhancing Overall Plant Health
In essence, repotting your Aloe Vera is a wellness check for your plant. It’s an opportunity to assess its roots, prune away any damaged sections, and provide the care it needs to continue flourishing. By understanding the importance of repotting, you’re taking an essential step in ensuring your Aloe Vera remains a healthy and vibrant addition to your indoor garden.
Gather Your Materials
Now that you’re aware of why repotting your Aloe Vera is essential, it’s time to roll up your sleeves and prepare for the transformation. In this section, we’ll discuss the key materials you’ll need to make the repotting process a breeze.
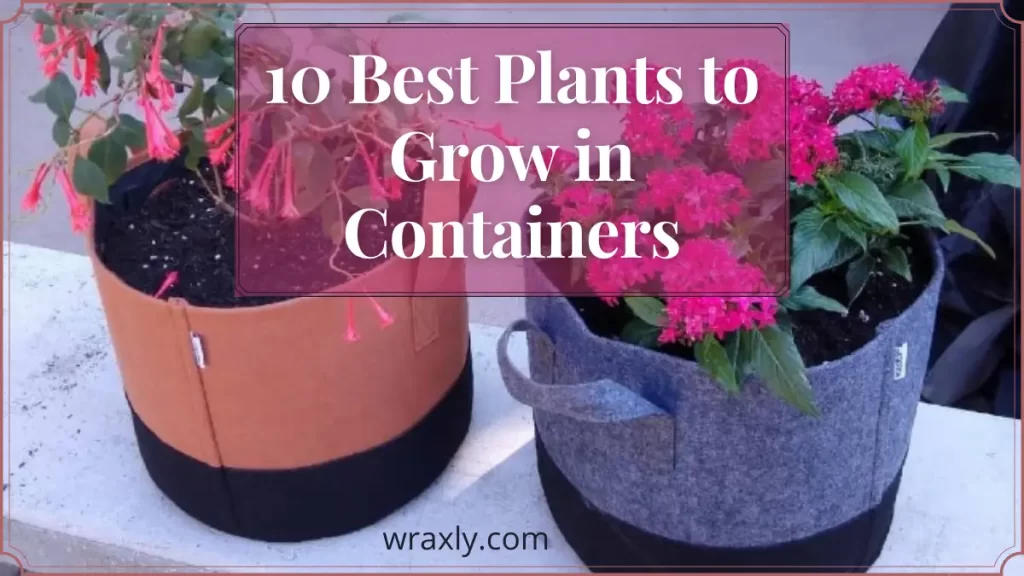
Choosing the Right Pot
Selecting the appropriate pot is the first crucial step. Aloe Vera thrives in pots that are just a bit larger than its current one. Look for a container that has drainage holes at the bottom to prevent waterlogging, which Aloe Vera, like most succulents, is sensitive to. This ensures that excess water can escape, preventing root rot.
Selecting the Ideal Potting Mix
Aloe Vera prefers a well-draining, gritty potting mix. You can either purchase a commercial succulent mix or create your own by mixing regular potting soil with perlite or sand. This mix ensures your Aloe’s roots won’t sit in soggy soil, minimizing the risk of root rot and promoting aeration.
Recommended Aloe Vera Potting Soil
| Image | Title | Prime | Buy |
|---|---|---|---|
 | Miracle-Gro Succulent Potting Mix: Fertilized Soil with Premium Nutrition for Indoor Cactus Plants, Aloe Vera and More, 4 qt. | PrimeEligible | Check My Price on Amazon |
Top | Professional Aloe Plant Soil | Premium All Purpose Blend | Large 2.2 Quarts | Ready to Use for Aloe, Cactus, Succulent Plants | Pinebark, Peat, Course Sand | Made in USA | PrimeEligible | Check My Price on Amazon |
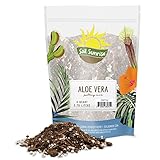 | Aloe Vera Potting Soil Mix (4 Quarts), Custom Blend for Aloe Vera Plants and Succulent Houseplants | PrimeEligible | Check My Price on Amazon |
 | GARDENERA Premium Aloe Vera Potting Soil Mix - (1 Quart Bag) | PrimeEligible | Check My Price on Amazon |
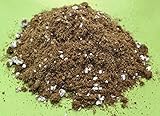 | Aloe Vera Plant Potting Soil Mix (3 Cups / 1 Quart), Perlite & Peat Moss | PrimeEligible | Check My Price on Amazon |
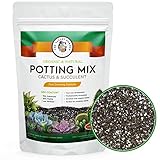 | THE VALLEY GARDEN Organic Potting Soil, Cactus and Succulent Soil Mix, Professional Grower Mix Soil, Fast Draining Pre-Mixed Coarse Blend (2 Quarts) | PrimeEligible | Check My Price on Amazon |
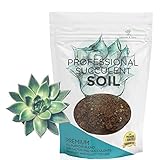 | Succulent Soil Premium All Purpose Blend | Large 2.2 Quarts | Pre-Mixed Ready to Use for Cactus and Succulents | Canadian Peat, Course Sand, Pinebark | Made in USA | PrimeEligible | Check My Price on Amazon |
 | Harris Premium Succulent and Cactus Potting Soil Mix, Fast Draining with Added Nutrients, 4 Quarts | PrimeEligible | Check My Price on Amazon |
Additional Tools and Materials
In addition to the pot and potting mix, a few tools and materials will make the repotting process smoother:
- Gloves: Aloe Vera leaves have thorny edges, and wearing gloves will protect your hands during the repotting process.
- Trowel or Spoon: These tools are handy for gently removing the plant from its current pot and carefully placing it into the new one.
- Newspaper or Drop Cloth: Minimize the mess by laying down newspaper or a drop cloth to catch any spilled soil.
- Watering Can or Spray Bottle: You’ll need these to water your Aloe Vera after repotting.
With these materials in hand, you’re well-equipped to give your Aloe Vera the new, spacious home it deserves, setting the stage for a successful repotting journey.
Preparing Your Aloe Vera
You’ve gathered all the necessary materials, and now it’s time to prepare your Aloe Vera for its rejuvenating journey through repotting. In this section, we’ll guide you through the steps to ensure your plant is ready for its new home.
Signs that Your Aloe Needs Repotting
Before you dive into repotting, it’s crucial to ensure that your Aloe Vera genuinely needs it. Look for these signs:
- Root-Bound Appearance: If the roots are visible on the surface or the plant seems too large for its current pot, it’s likely root-bound.
- Slow Growth: If your Aloe has stopped growing, despite being in good condition, it may be time for a larger pot.
- Leaning or Toppling: A top-heavy Aloe Vera may lean or tip over, indicating that it needs a more stable and spacious container.
- Soil Depletion: If the potting mix appears depleted, with a crusty or salty layer on top, it’s a sign that your Aloe Vera would benefit from fresh soil.
Safe Removal from the Old Pot
Now that you’ve confirmed that repotting is necessary, it’s time to gently free your Aloe Vera from its current pot. Follow these steps:
- Lay down a layer of newspaper or a drop cloth to catch any loose soil.
- Carefully tilt the old pot to the side to ease the Aloe Vera out. Gently tap the pot’s sides or use a trowel to loosen the soil without damaging the roots.
- Once the plant is free, check its roots. If they appear tightly wound or root-bound, you may need to gently tease them apart.
Gently Shaking Off Excess Soil
To prepare your Aloe for its new pot, it’s important to remove excess soil from its roots. You can do this by gently shaking the roots or carefully brushing off the soil. Be patient and take your time to ensure you don’t damage the roots.
With your Aloe Vera now prepared for repotting, you’re on the right track to giving it the new lease on life it deserves. In the next section, we’ll guide you through the repotting process itself, where your Aloe Vera will find its rejuvenating new home.
The Repotting Process
It’s time to embark on the heart of the repotting journey for your Aloe Vera. In this section, we’ll walk you through the steps to ensure a seamless transition to its new pot, providing it with the space and fresh soil it craves.
Placing a Layer of New Soil in the New Pot
Start by adding a layer of fresh potting mix to the bottom of the new pot. This will provide a comfortable and nutrient-rich bed for your Aloe Vera’s roots. Remember, good drainage is key, so ensure that the layer is even and not too thick.
Centering the Aloe in the Pot
With your fresh layer of soil in place, gently position your Aloe Vera in the center of the pot. This ensures it has room to grow in all directions. The crown of the root should be level with the rim of the pot.
Adding Fresh Soil Around the Plant
Now, begin filling in the space around the Aloe Vera with more of the potting mix. Pat the soil down gently as you go, but don’t press too hard to avoid compacting it. Fill the pot until the soil reaches about an inch below the pot’s rim. This will leave ample room for watering without spillover.
Watering and Allowing Proper Drainage
After the repotting process is complete, it’s time to give your Aloe Vera a good drink of water. Water the soil around the plant, allowing it to settle and help the roots establish in their new home. Ensure that the water reaches the roots but doesn’t flood the pot. Allow any excess water to drain away.
Remember that you’ll want to keep your newly repotted Aloe Vera in a spot with indirect sunlight for a few days to let it acclimate to its new home. Be mindful not to overwater during this period, as the plant might be a bit stressed from the move.
In the next section, we’ll delve into post-repotting care, ensuring your Aloe Vera continues its journey toward a healthier and more vibrant life.
Post-Repotting Care
Congratulations on successfully repotting your Aloe Vera! Now that your plant has a fresh start in its new home, it’s important to provide it with the care and attention it needs to thrive. In this section, we’ll guide you through post-repotting care to ensure your Aloe continues to flourish.
Adjusting to Its New Home
After repotting, your Aloe Vera may experience a period of adjustment. It’s normal for the plant to look a bit droopy or stressed immediately after the transfer. Give it some time to acclimate to its new pot and surroundings. During this adjustment period, place your Aloe Vera in a location with indirect sunlight to reduce stress.
Monitoring for Signs of Stress
Keep a close eye on your Aloe Vera for the first few weeks after repotting. Look out for signs of stress, which can include slightly wilted leaves or a change in color. If you notice these signs, don’t worry; it’s a common reaction to the repotting process. Your plant will likely bounce back with a little patience and care.
Tips for Ongoing Aloe Care
Maintaining the health of your Aloe Vera is an ongoing process. Here are a few tips to help your plant thrive in its new pot:
- Watering: Aloe Vera prefers to dry out between waterings. Water your plant when the top inch of the soil is dry. Ensure proper drainage to prevent overwatering.
- Light: Aloe Vera loves bright, indirect sunlight. Place it near a sunny window, but avoid direct, scorching sun, which can damage the leaves.
- Temperature: Aloe Vera prefers temperatures between 59°F to 77°F (15°C to 25°C). Avoid exposing it to extreme cold.
- Fertilizing: Feed your Aloe with a balanced, water-soluble fertilizer every 4-6 weeks during the growing season (spring and summer).
By following these care tips, your Aloe Vera will settle into its new pot, regain its vigor, and continue to thrive. Remember, patience and consistent care are the keys to a happy and healthy Aloe Vera. In the next section, we’ll address common issues that may arise during the repotting process and how to troubleshoot them effectively.
Recommended Aloe Vera Fertilizer
| Image | Title | Price | Prime | Buy |
|---|---|---|---|---|
 | Miracle-Gro Succulent Plant Food, 8 oz., For Succulents including Cacti, Jade, And Aloe, 2 Pack | PrimeEligible | Check My Price on Amazon | |
Top | Succulents & Cactus Plant Food - Gentle Long Lasting Formula, Slow Release Fertilizer (Liquid Alternative) for All Potted Succulent, Cacti & Aloe Vera Plants (5 oz) | PrimeEligible | Check My Price on Amazon | |
 | Schultz Cactus Plus 2-7-7 liquid Plant Food, 4-Ounce (2-Pack) | PrimeEligible | Check My Price on Amazon | |
 | Espoma Cactus! Liquid Plant Food, Natural & Organic Succulent Plant Food, 8 fl oz, Pack of 4 | PrimeEligible | Check My Price on Amazon | |
 | Houseplant Hero Cactus and Succulent Plant Food - 2-7-7 House Plant Fertilizer (8 Ounces) | PrimeEligible | Check My Price on Amazon | |
 | Perfect Plants Liquid Cactus & Succulent Fertilizer 8oz. | Food for Live Succulents, Cacti, Aloe & More | Indoor and Outdoor Use with Every Watering | PrimeEligible | Check My Price on Amazon | |
 | Succulent Fertilizer | Formulated Succulent Food for Potted Indoor Succulents and Cactus | Plant Food for Succulent Soil in Pots | by Aquatic Arts | PrimeEligible | Check My Price on Amazon | |
 | EON NATURAL Succulent Plant Food | 8 oz Organic Succulent Fertilizer | Cactus Plant Food | All Purpose Succulent + Cactus + Snake + Aloe Liquid Soil | Indoor Plant Fertilizer Food for Potted Plants | PrimeEligible | Check My Price on Amazon |
Troubleshooting Common Repotting Issues
While repotting your Aloe Vera is a fairly straightforward process, sometimes issues may arise. It’s essential to recognize and address these challenges promptly to ensure the continued health and vitality of your plant. In this section, we’ll explore common issues that can occur during repotting and how to troubleshoot them effectively.
Dealing with Root Damage
During the repotting process, it’s possible to accidentally damage some of your Aloe Vera’s roots. This can happen when untangling tightly bound roots or being too rough during the transfer. If you notice damaged roots, don’t panic. Trim any damaged or rotting roots with clean, sharp scissors or pruning shears. Allow the cuts to air dry for a day before repotting. Your Aloe Vera is resilient and will often bounce back with proper care.
Managing Overwatering
Overwatering is a common issue after repotting, as the Aloe Vera may be stressed and more susceptible to root rot. To prevent overwatering, follow the “dry top inch” rule – only water when the top inch of the soil is dry. Additionally, ensure that your new pot has proper drainage to prevent water from accumulating in the bottom.
Recognizing Signs of Incorrect Repotting
If your Aloe Vera displays signs of severe stress, like persistent wilting, browning, or a significant decline in health, it could indicate that something went wrong during the repotting process. In such cases, it may be necessary to assess the extent of damage and consider repotting it once more.
Remember that it’s not uncommon for Aloe Vera to experience a period of adjustment after repotting, and minor stress symptoms are normal. However, if the issues persist or worsen, take action promptly to help your plant recover.
In the final section, we’ll address frequently asked questions about Aloe Vera repotting, offering expert advice and insights to ensure you have all the information you need for a successful gardening experience.
Aloe Vera Repotting: Frequently Asked Questions
As you embark on your journey of repotting Aloe Vera, you might have some questions and concerns. In this section, we’ll address some of the most common queries and provide expert advice and insights to help you navigate the world of Aloe Vera gardening with confidence.
The ideal time to repot your Aloe Vera is in the spring or early summer when it’s actively growing. This allows the plant to recover and establish its roots in its new pot more quickly.
Look for signs like root-bound appearance, slow growth, leaning, or toppling, and depleted potting mix. These are indicators that your Aloe Vera is ready for a larger home.
While regular potting soil can work, it’s best to use a well-draining succulent or cactus mix, or create a mix with potting soil, perlite, or sand for optimal results.
Water your Aloe Vera only when the top inch of soil is dry. Avoid overwatering, as it can lead to root rot.
It’s normal for your Aloe Vera to show some stress immediately after repotting. Place it in indirect sunlight, allow it time to adjust, and monitor for improvement. If stress persists, ensure you’ve followed proper care guidelines.
Yes, you can repot a severely root-bound Aloe Vera, but do so gently, taking care not to damage the roots further. Trim any damaged roots before repotting.
For Further Reading
- Should I Cut the Brown Tips Off My Aloe Plant?
- How Big do Succulents Get?
- 13 Fastest Growing Succulents
Final Thoughts on Repotting Aloe Vera
In the wonderful world of Aloe Vera gardening, you’ve taken the crucial step of repotting your plant, offering it a fresh start for a healthier and more vibrant life. Your Aloe Vera is now poised for growth, bathed in nourishing soil, and ready to thrive. But remember, gardening is more than just caring for plants; it’s a journey of nurturing and watching your green companions flourish. Your Aloe Vera will continue to offer its soothing and purifying qualities, whether you’re tending to sunburn or enhancing your living space with its lush green presence.
As a passionate gardener, consider sharing your success and newfound wisdom with your fellow plant enthusiasts. The world of Aloe Vera gardening is a vibrant community where experiences and knowledge are shared with enthusiasm. You’ve become part of a global network of like-minded individuals who are dedicated to the art of nurturing these extraordinary succulents. So, keep your green friend close, and may your gardening journey be a source of ongoing joy and fulfillment. Happy gardening!
Darrell has a passion for gardening that he inherited from his father. Go here to read more about the influence his father played in his love for gardening. If you want to send Darrell a quick message, then visit his contact page here.
![How to Water Indoor Plants [Plant Care 101]](https://wraxly.com/wp-content/uploads/2021/03/How-to-Water-Indoor-Plants-Plant-Care-101-1200-1024x576.webp)
![Growing Plants from Cuttings [A Simple Guide]](https://wraxly.com/wp-content/uploads/2021/03/Growing-Plants-from-Cuttings-A-Simple-Guide-1200-1024x576.webp)